MBOGC Data
Miner
- Application
Requirements
- Application
Overview
- Main
Menu
- Search
- Sorting
Grids
- Filtering
Forms and Grids
- Printing
and Exporting Results
- GIS
Application
- Tools
Menu
- Selecting
Well
Application
Requirements
- The program requires cookies to be
enabled.
- Pop-up blockers running on your system
must be disabled.
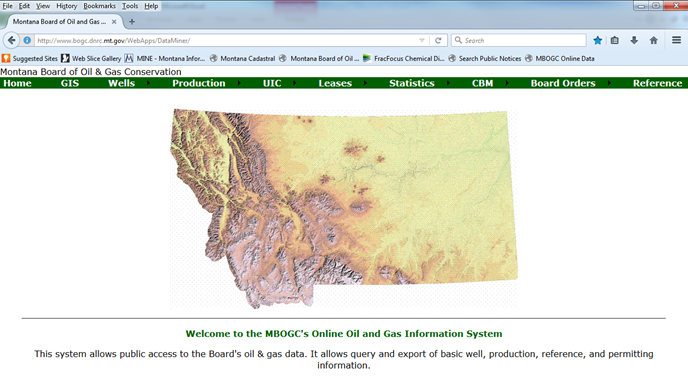
Application
Overview
Main menu selections are located at the top of the
application.
|
|
|
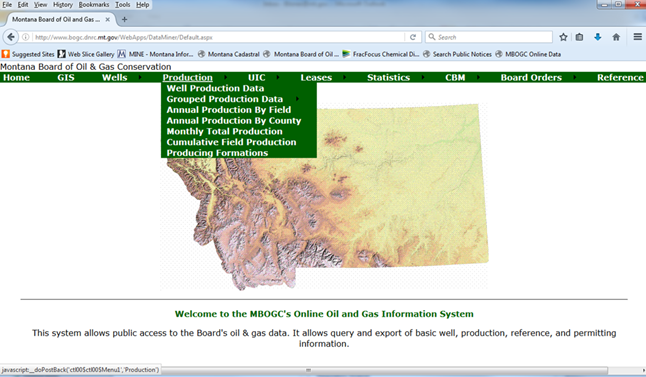
Main Menu
Menu options on the "Main Menu" are drop-down selections. Using
the mouse pointer, hover over each choice to reveal options. Click to
select.
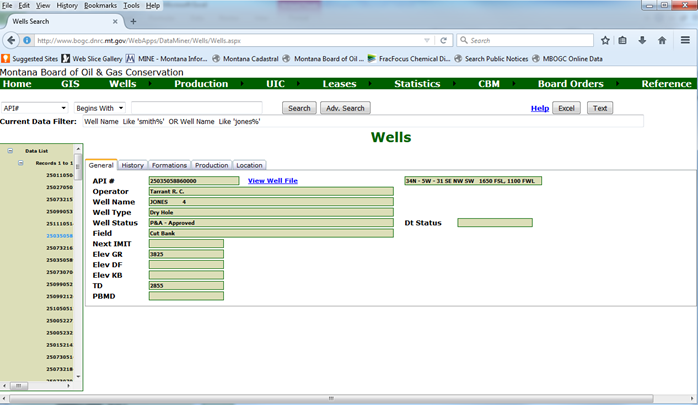
Well Data
View well information for a filtered set of wells or a
single well using the filtering options. Apply a filter and select a well
to view detailed well information and well activity.
Production Data
Production in Montana is tracked by Well and Disposition by
Lease (See Lease Data for Lease production). Basic statistics on Production
also supplied.
UIC Data
View data for EOR and SWD wells as well as UIC Permit data.
Lease Data
Basic lease data such as lease number, county, and the Wells
on Lease is provided. Information on Lease disposition of production is
also provided.
Statistic Data
Basic statistics on state information is provided.
CBM Data
Data relevant to CBM wells is provided. Information includes
the plot of normalized CBM well production.
Board Order Data
Information is provided on Board Orders Issued in the State.
Reference Data
Information on reference data used by the individual forms
is provided. Includes Company, Formation & Fields Information.
|
|
|
Top
Search/Filtering
Searching or filtering for specific and groups of wells, operators, county,
etc can be done by selecting from the main menu an area of interest (Wells, Production,
etc.). Depending on the selection criteria, a search can either be simple
(one choice, all operators with name starting an "S") or advanced
(all operators whose name begins with "S" or "W"). Click here for
options on formats for text and dates.
|
Simple: In the following
example, the left most drop-down lists "Well Name" and
"Begins with". Wells beginning with "Smith" is what the
user is looking for, so with well name beginning with Smith, the result
list are wells with Smith at the beginning followed by some other
designation. Note: the application uses "%" as a wildcard. 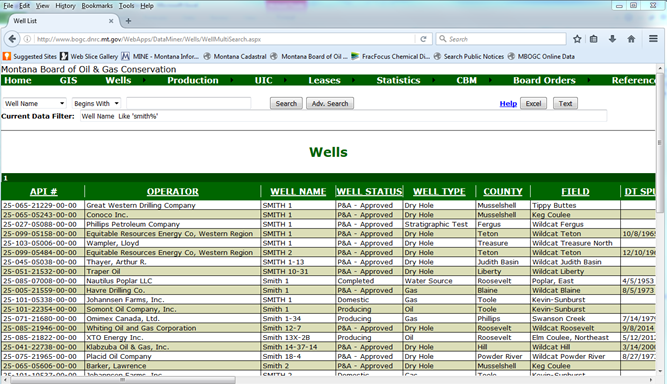
|
|
Advanced: In the following example, the left most drop-down lists
"Well Name" and "Begins with". The user selects
"Adv. Search" to search for wells whose name begins either with
Smith or Jones. After typing in Smith, the "Or" button is clicked
and then Jones is typed into the selection box, once the user clicks on the
"Apply And/Or", the well list is updated to include those wells
whose name begins with Smith or Jones.
Example: Selecting "Smith" as the first search after clicking
“Adv. Search”.
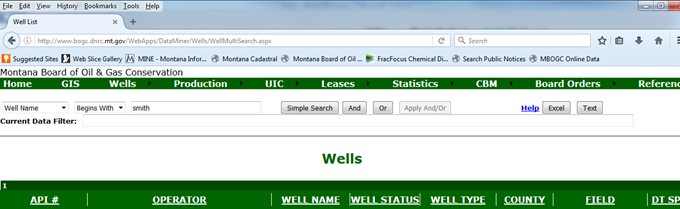
Click “Or”, enter “Jones” in the filter box.
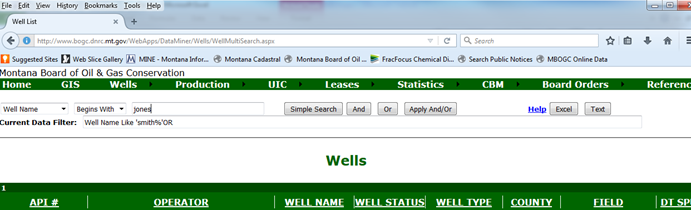
Click “Apply And/Or” to return a list of wells with well name beginning
with “Smith” or “Jones”.
|
Top
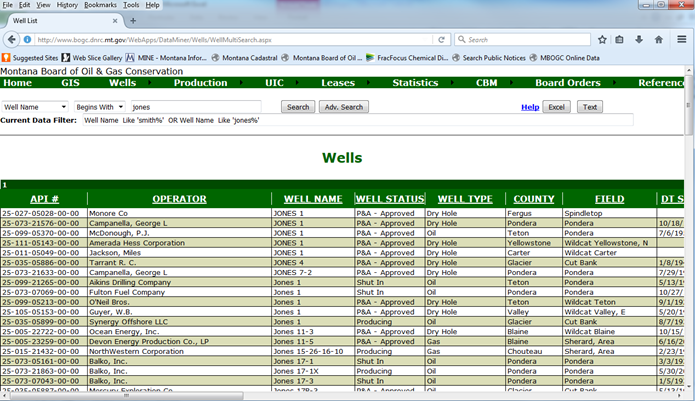
Sorting Grids
Many of the grids used to display information have columns
that can be sorted in ascending and descending order; these are denoted by
underlined column headers. If part of the grid is outside the viewable area
just use the horizontal scroll bar to view the rest of the grid. Page numbers
are listed at the top and bottom of the grid if more than one page is needed
to present the results.
Top
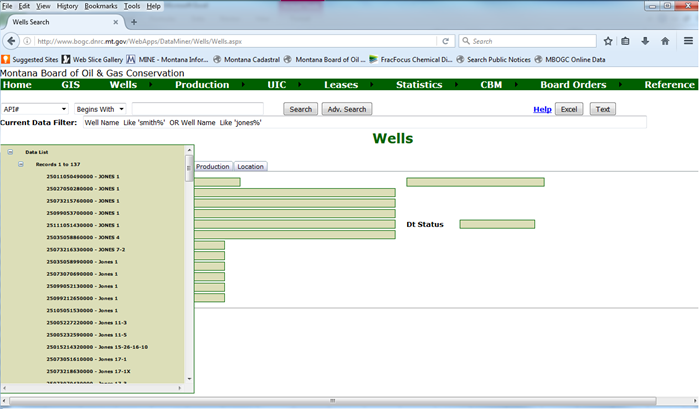
Filtering Form and Grid
The other type of form encountered in the system has a filter form and grid
layout. After a search selection has been made, depending on the results to
be viewed, the Data Navigation Selection Window will be populated with
specific wells, counties, operators, etc. By clicking on a selection in this
window located along the left side of the page the form or grid will change
to reflect the specific details associated with the selection.
Top
Printing and Exporting Results
Printing: Printing is not recommended since results cannot be
predicted for all PC/printer/software combinations. Because of
these limitations, you may not be able to print the entire set of data.
The "Export" function may be your best alternative to download,
format and print all desired information.
Exporting: Selecting "Excel" will format the results for MS
Excel. A dialog box will open to present the options to either view the data
in an Excel spreadsheet window or to save to a local hard drive. Selecting
"Text" will present the data in column format in a new browser
window, select from the browser's File menu to "Save As" and
specify the location to save the "txt" file.
Pop-up
blockers will stop exports, and security settings specific to the user’s
computer may block exporting to Microsoft Excel.
- Before
attempting an export to Excel try to export to text by clicking the
“Text” button. To date, the only thing that is known to stop an export
to text is a pop-up blocker. Pop-up blockers are present within
Internet Explorer, associated with the Google toolbar, 3rd-party
security or firewall software, and may be included in software provided
by an internet service provider.
- An
indication of either a pop-up blocker or other security setting that
could impede export of data is an audible click or beep after an export
button is clicked.
- Pop-up
blockers will have to either be configured to allow pop-ups from the
Montana Board of Oil and Gas website or disabled for either of the
export options to perform.
- If
clicking export to text works and export to Excel still doesn’t work,
likely with an audible “bleep”, hold down the control (ctrl) key until
something appears on the screen. Usually a new window will open with an
option box allowing the selection of either “Open” or “Save”.
- The
larger the dataset being returned, the longer the control key needs to
be held down for the export to Excel.
- Always
look for other message windows that might open during an export to
Excel. More recent versions of Excel, and especially those running
under Vista, may require additional security confirmation before the
data will be transferred to a local computer.
Top
|
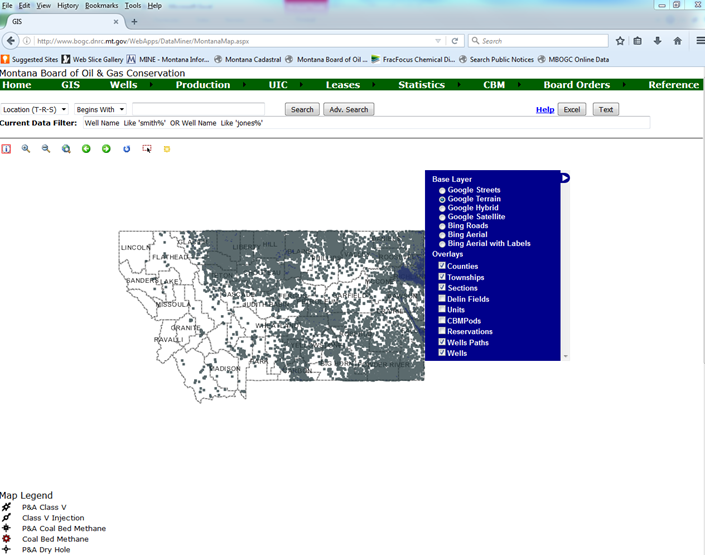
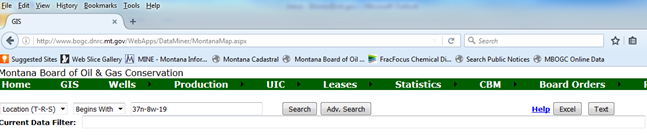
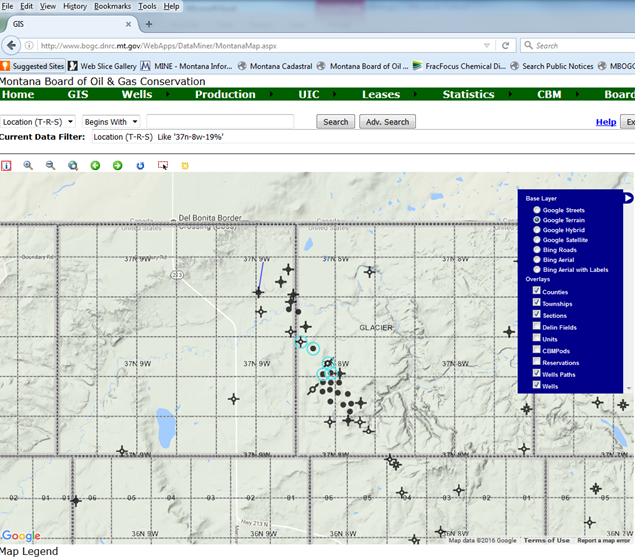
GIS Application
When GIS is selected from the main menu; a map of
Montana will appear. Below the main menu, there will be the same search
options as described above. Below the search will be the GIS tools menu.
The blue box to the right of the map is the map layer/overlay options. The
map legend can be found below the map.
Top
|
Tools Menu
This menu has the tools needed to find and gather information on wells
from the map.

View details of individual wells. This tool also needs to
be selected to click and move map to different area.

Zoom in. To use this tool, click and drag the mouse pointer
over an area to zoom in. This can be done as many times as needed.

Zoom out. This tool needs to be clicked until the desired
zoom is reached.

Zoom to full extent. Will automatically zoom out to the
original map of Montana.

Zoom to last or next map extent.

Refreshes map.

Select area by rectangle. Allows multiple wells to be
selected at a time.

Clears map selection.
|
|
|
|
Top
|
Selecting a Well
Well selection can be done through a search similar to described above, or
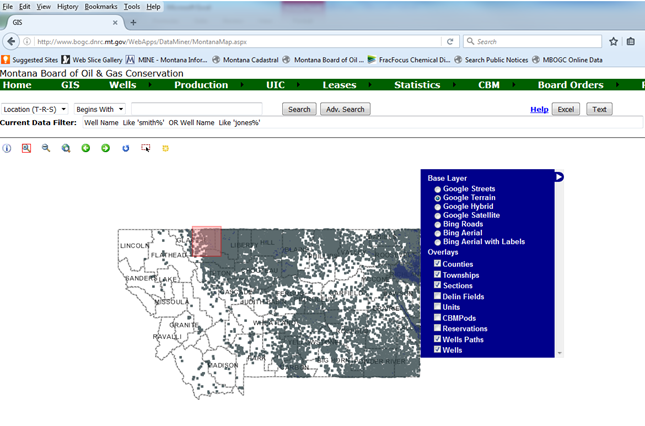
by using the zoom and select tools.
Zoom Tool: Select the zoom in tool. Click and drag the mouse
pointer to select the area of interest. This can continue to be done until
the desired location is visible.
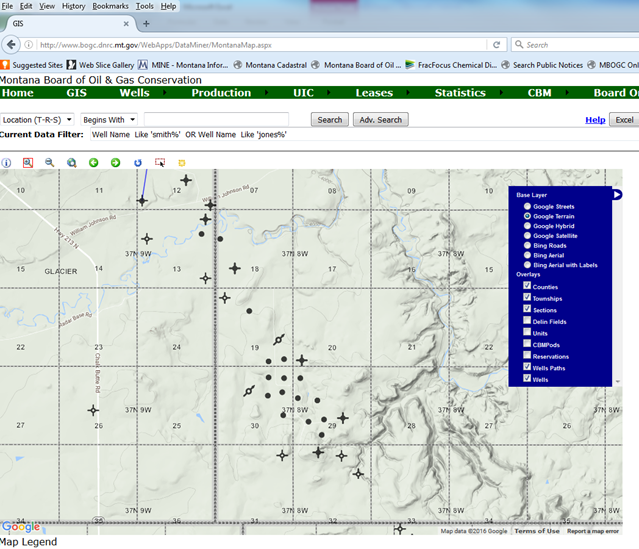
|
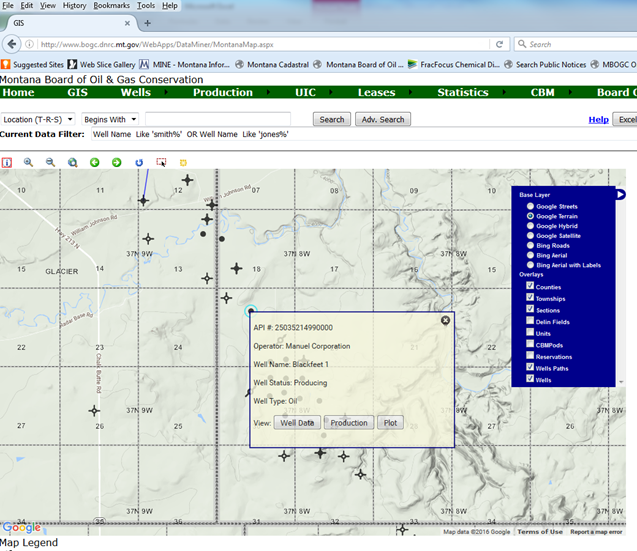
The view details tool can then be used to select a specific
well. Once a well is selected, a box with appear with options to view well
data, well production, or a production plot.
Search Menu: A well can also be located by using the search menu. A
location or API number can be used to automatically zoom to a specific well
or area. If a location is used to search, all the wells in that given
location will initially be highlighted. Then the information tool can be used
to select an individual well.
Top
Data
Miner created by ALL Consulting in
partnership with the Montana Board of Oil and Gas Conservation
|